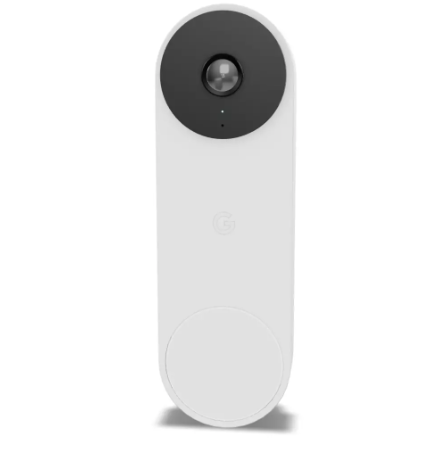
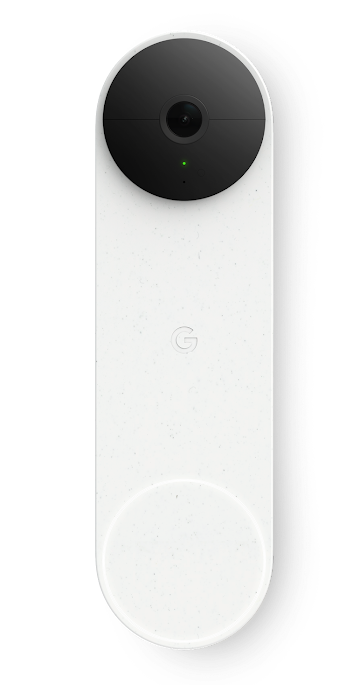
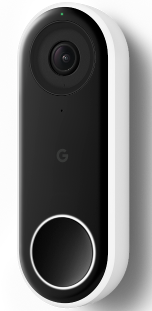
Set up your Google Nest doorbell

Created by Lamont Gibson, Modified on Mon, 22 Jun at 11:36 AM by Lamont Gibson

Set up your Google Nest doorbell

Use these instructions when installing a new Google Nest Doorbell or reconnecting a doorbell that was previously removed from your account.

The setup process connects the doorbell to your Wi-Fi network and links it to the Google Home app or Nest app for video recording, notifications, and device management.

What you need to get started

  • Your Nest doorbell
  • A Wi-Fi connection
  • Latest version of the Google Home app or Nest app
  • A compatible mobile device
    • Android phone or tablet with Android 9.0 or later
      • For Nest app setup, Android 5.0 or later.

    • iPhone or iPad with iOS 17.0 or later
  • Your Bluetooth turned on

Step 1: Download or update the app

Depending on which Nest doorbell model you have, use either the Google Home app or Nest app to set it up. Download the one you need from the Apple App Store or the Google Play Store.

For Nest Doorbell (wired), you need to use the Nest app.

Use the Google Home app to set up the following Nest doorbells:

  • Nest Doorbell (wired, 3rd gen)
  • Nest Doorbell (wired, 2nd gen)
  • Nest Doorbell (battery)

Step 2: Add your doorbell using the QR code

Important: Your Nest doorbell’s QR code can be found on its back. To make sure you can easily access the code, connect your doorbell to the app before you install or mount it.

Depending on your doorbell model, you can add it to the Google Home app or Nest app:
Important:

  1. Open the Google Home app .
  2. At the top right, tap Add Add Icon and then Device .

    • Or, if a setup screen for your device appears, tap Set up or Next.
      • If it’s not the correct device, tap Not now or Set up a different device.
  3. Scan the QR code of your device. A check mark appears when the scan is complete.

    • If you can’t scan the QR code:
      • Tap Use setup code, then enter the setup code for your device.

        Tip: The Google Home app provides additional details to help you locate and use your device setup code.

      • Tap Add a different way, enter your device in the search bar, then select your device.
  4. Wait for your app to connect to the device. Once it’s finished, you’ll see a confirmation screen that says, “Connected.”
  5. Follow the in-app steps to complete setup.

If you're new to Nest

  1. Open the Nest app Nest app and create an account.
  2. On the app home screen, tap Add Add Icon.
  3. Scan the QR code on the back of your doorbell.
    • Or, you can also tap Continue without scanning and type the numbers at the top of the QR code.
  4. The app walks you through setup and installation.

If you already have an account

Important: If you have more than one home in your account, make sure to select the Nest home where you want to install your doorbell. Tap Menu  to change homes.

  1. Open the Nest app Nest app.
  2. Tap Settings Nest settings icon.
  3. Select Add product plus.
  4. Scan the QR code at the back of your camera. You can also tap Continue without scanning and type the numbers at the top of the QR code.
  5. Follow the rest of the on-screen prompts.

Step 3: Install your doorbell

The app gives you basic installation instructions to mount or install your Nest doorbell. If you need more tips for your doorbell, select your Nest doorbell model below for detailed instructions.

Get instructions for your Nest doorbell
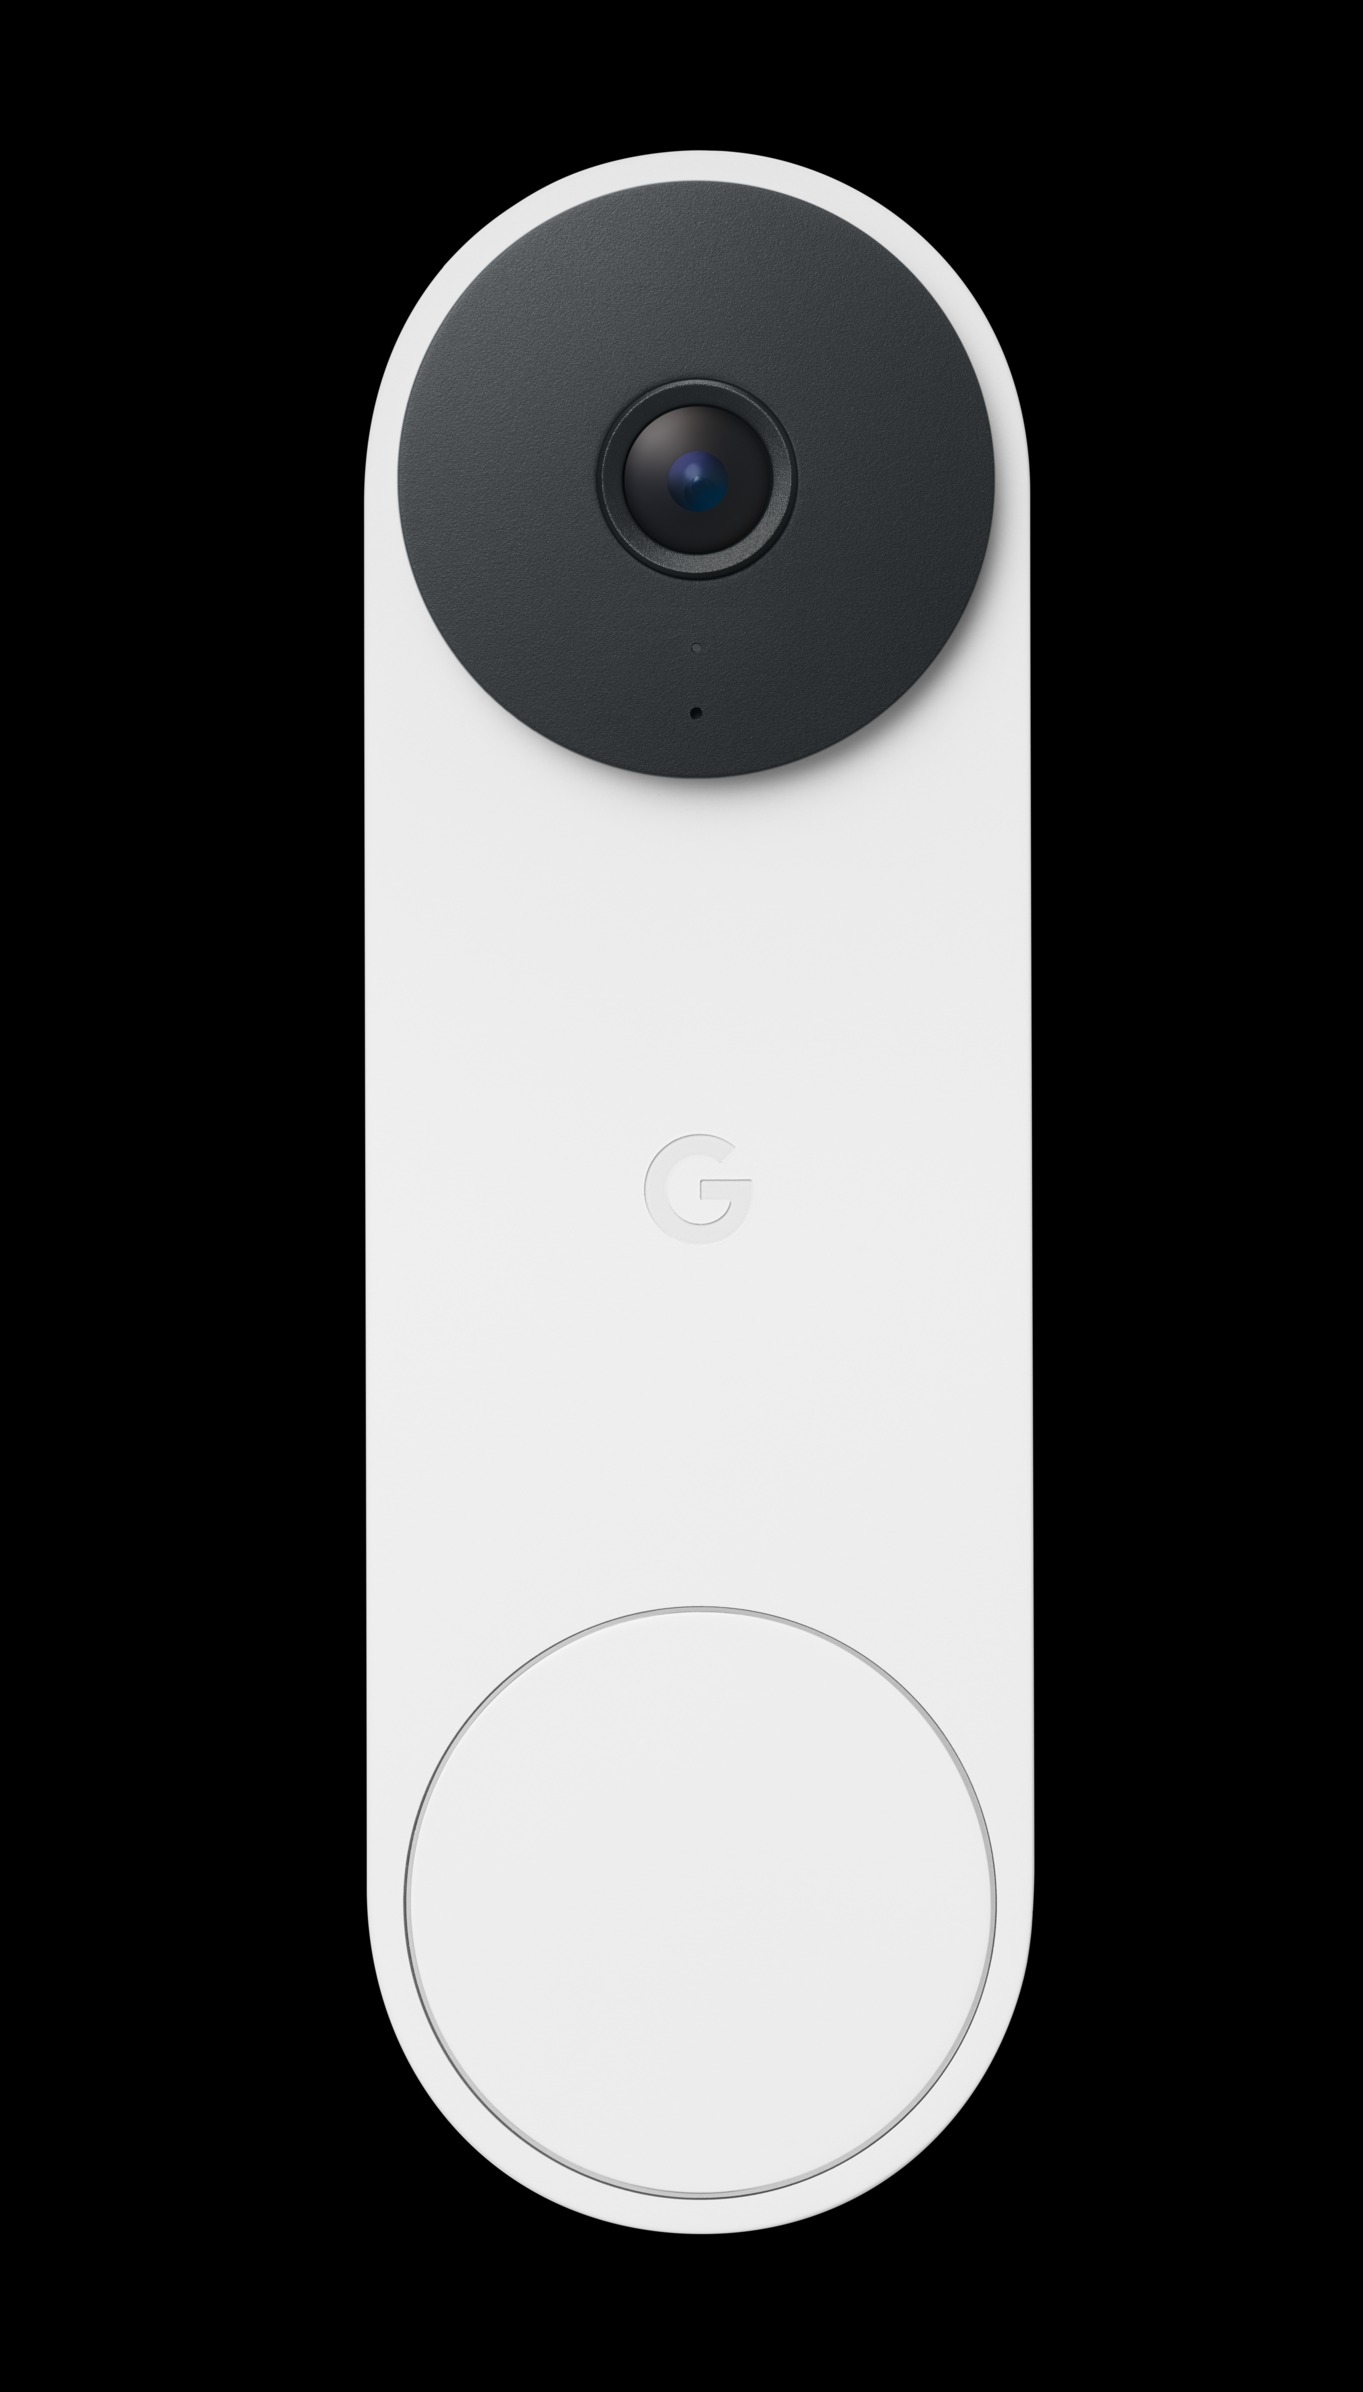
Nest Doorbell Nest doorbell 2nd gen
Nest Doorbell (wired, 3rd gen)Nest Doorbell (wired, 2nd gen)
nest doorbell batteryPicture of a Nest Doorbell wired
Nest Doorbell (battery)Nest Doorbell (wired)

Step 4: Learn how to use your doorbell

To help you get started with your doorbell, we selected the most important articles you should read in Get started with your Nest doorbell.

Troubleshoot issues during set up

During setup, the app lets you connect your doorbell to Wi-Fi, personalize settings, check the video quality, and more.

If you have any issues, here are some quick tips.

Important: The interactive troubleshooting tool is only recommended if you use the Nest app to set up your doorbell.

If a help message with the code appears in the app, get detailed troubleshooting help from our interactive troubleshooting tool for Nest cameras and doorbell

Try these if you can’t find your Wi-Fi network or if your doorbell has trouble connecting to it:

  • Wait a few minutes, then try to connect your doorbell again.
  • If possible, move your doorbell and router closer to each other to improve the signal.
  • Reduce wireless interference.
  • Restart your router.
  • If you have a hidden Wi-Fi network, you’ll need to type in the network name (SSID) manually in the app.

For more information, refer to Fix Nest camera or doorbell Wi-Fi connection issues.

Your doorbell doesn’t get enough power if:

  • It won’t turn on
  • You get a message or status in the app that tells you there isn’t enough power
  • The Wi-Fi connection speed and the video quality are reduced

To fix the issue, check if the power is on for your home’s doorbell system. Make sure the wires are connected properly to your doorbell.

Some doorbell systems have complex wiring that might not have diagrams in the app. For additional help, you can contact Google Nest Help.

If your doorbell has video delays or lag, it’s usually a sign that the Wi-Fi connection is weak. It could also be a sign that your doorbell doesn’t get enough power. Try the following to fix the issue:

  • If possible, move your doorbell and router closer to each other to improve the signal.
  • Reduce wireless interference.
  • Check that the wires are connected properly to your doorbell.

If your doorbell’s video is distorted, here are a few things you can do to troubleshoot:

  • Dust off the camera lens.
  • Make sure your doorbell is shaded and protected from extreme weather conditions. While Nest doorbells are built to work outside of your home, extreme hot or cold temperatures can affect things like the video quality.
  • video quality.

Was this article helpful?

That’s Great!

Thank you for your feedback

Sorry! We couldn't be helpful

Thank you for your feedback

Let us know how can we improve this article!

Select at least one of the reasons
CAPTCHA verification is required.

Feedback sent

We appreciate your effort and will try to fix the article